 |
| Photo by Ashley Foster |
Now Prince Charming in this case thinks a lot of himself but
is suave at the same time. In one of the descriptions in the script it says
"(...Extremely well groomed and looked after...)". We could also tell
this from the sort of lines he has in the play for example: "I guess I didn't
need to use that false tan last night", "My hair is looking fine. I
do like that new hair gel". "I've had my eyebrows waxed and my skin
is just amazing today". He likes to take pride in his appearance which had
to show in his outfits as well.
Prince Costume #1: Regular Suit
 |
| Design by Katie Pollitt, Photo by Ashley Foster |
For the Prince's
first costume I decided to go with a navy blue suit, red tie and white shirt (Union
Jack colours) because as you know, Prince's have to look smart and presentable
at all times. So his everyday wear had to be a suit. Luckily enough, the actress's
brother had a suit that fitted her rather well, with a navy blue waistcoat to
match the navy trousers, however we had no navy jackets that would fit without
having to do a lot of altering, so we just stuck with the costume he had as it
looked very suave; especially with its matching handkerchief tucked into the
breast pocket.
 |
| Photo by Ashley Foster |
Page Costume #1:
The Prince's Page
acted like a guard but also admired the Prince and wanted to be so much like him, so I dressed
him in a suit as well, to copy the Prince, but it wouldn't be as well-fitting. He
also wore a bad tie and sunglasses.
Prince Costume #2: Gym Gear
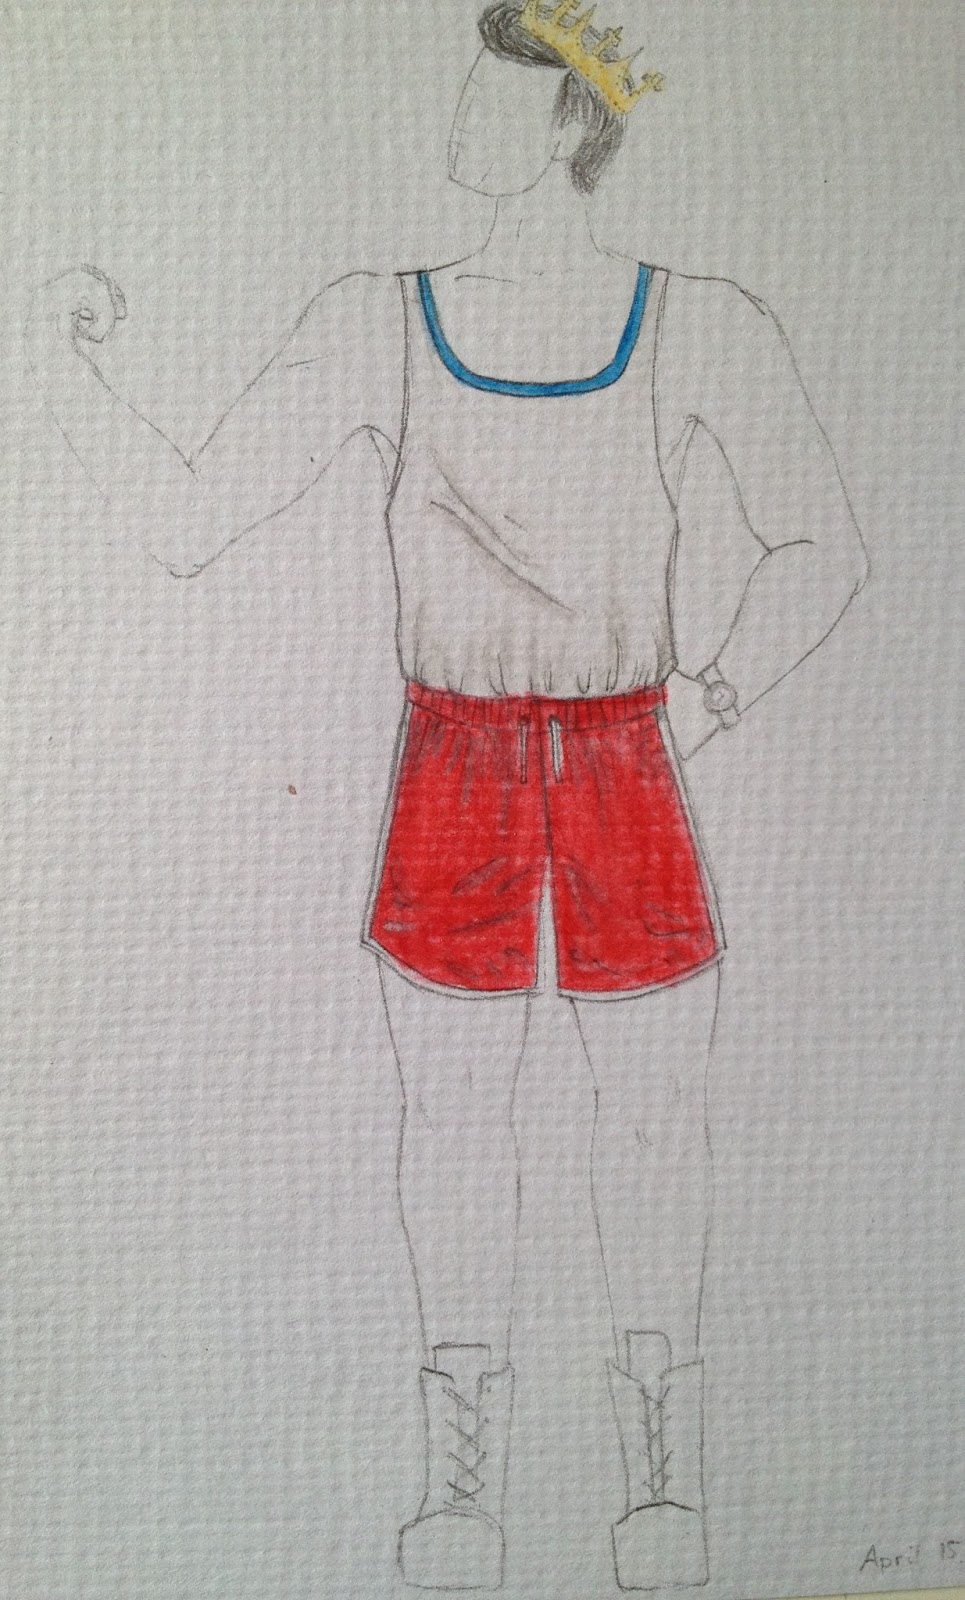 |
| Design by Katie Pollitt |
Now because the
Prince seemed very vain, he had to rub it in people's faces that he worked out.
"Prince: Today
couldn't get any better boys and girls.
Page: (following
behind with admiration) You're right about that.
Prince: I've been
to the gym.
Page: You're
looking so fit.
Prince: I've got
my new Gucci watch."
It was time for Prince Charming to have his first date with
who he thought was going to be Snow White.
It seemed like an appropriate time to have a costume change
for the Prince, and he practically told us what he should wear.
The Prince wore shorts and a vest, a gold watch, boxing
boots and of course his crown. As you can see in the design above, I wanted to
keep to the red, white and blue theme because of being English royalty it
seemed right to make it look obvious...with the Union Jack colours. However due
to the small amount of modern stock and using some of the juniors' own clothes,
finding a pair of red shorts was very hard, so in the end the actresses own
blue shorts were worn with a white vest.
Page Costume #2:
As the Prince's best man, due to lack of choice in the cast
according to the script, ("either that or we didn't have enough cast
members to offer an alternative. We haven't even got a vicar or any
guests!"). The Page needed to suit up, even more so...
So a jacket was added, tie exchanged for a burgundy bow tie,
and I would have liked a matching cummerbund and get rid of the waistcoat. But
because I didn't have any fabric to match the bow tie at the time to make the
cummerbund we instead kept the waistcoat on underneath the jacket.
If I had more spare time I would have used my own red fabric
to make the cummerbund with a matching bow tie.
Prince Costume #3: The Wedding Suit
 |
| Design by Katie Pollitt |
To be honest this blog
post was mainly to talk about Wedding Shirt for Prince Charming...
I really enjoyed doing the princes wedding shirt and am
pretty pleased with it, but next time may stiffen the button placket in order
to stop the gold twisted cord trim from buckling the placket.
I designed Prince Charming's wedding outfit with inspiration
from Prince William's wedding attire, with some slight differences. You can
probably guess that we didn't have this exact shirt in the stock shed, so I
looked around for anything that looked like a red shirt that could be altered.
Luckily enough I came across 3 of these weird looking demon worshipper type
long shirts, with the perfect collar shape. So I decided to have a go at making
one of these work as the wedding shirt... with some alterations of course...
The Fitting:

The first main alteration I did was cut
off all the rags and unpicked the black arm bands with red glittery symbols on.
This then allowed me to try it directly on the actress, and then pin to the
correct height and fit, as can be seen below.
 |
| Photo by Ashley Foster |
Once I had fitted the
shirt to her with pins, I then measured out the fittings to make sure that the
hem of the shirt and lengths of the
sleeves would be equal. I did this by folding the shirt directly in half, and
made markings with the tailors chalk, this then gave me points of where to
equal up the measurements. Now when I was doing this I would head towards the
smaller take in measurement, because if you take in too much on both sides to
make it look equal, you will of course be left with something too tight/short,
so a little extra leave way room is always best, I think.

I then unpicked the mismatching buttons and swapped these
for 5 slightly domed shiny gold buttons for down the centre button placket.
I added a section of black material from the ends of the sleeves to make up the
proper sleeve length reaching to the wrist joint. When I had added this
addition to the sleeve it appeared quite blocky/bulky so I altered this easily
by turning the shirt inside out and pinning until it had the right appearance;
I then just sewed up this line. However I kept the excess on until I had
another fitting with the actress to be there for an alteration if necessary.
This could then either be trimmed off or depending on the amount left you could
sew it over to one side.
I then trimmed the collar and the edge of the button placket
with gold twisted cord; I stitched this over the seam of the red and black
fabric of the sleeve. I also added a gold section with 3 points (not quite sure
how else to describe it) like the one seen on Prince William's wedding shirt,
trimming again with the gold twisted cord. On the inside of this shape I added
the 4 sleeve buttons (as a feature rather than a fastening) and an inner cord
shaping the edge.
The Epaulettes:
For the Prince's wedding shirt we needed epaulettes and
therefore I made some...
I did this very easily and with very little sewing involved.
First of all I needed to decide on a style of epaulet, the
majority of the time now the epaulettes are almost completely rectangular if
not pointed at one end (or at least the ones I've seen recently), however I
wanted to go for the style where there was a circle at the end which would hang
over the shoulder. I would then be attaching a tasselled trim to hang from the
edge of the curve.
I tried to find the
official measurements of epaulettes, however I had a bit of trouble, but in the
end of looking at many people's thoughts on measurements I went for a width of
2.5" for the rectangular section, going into a diameter of 3" for the
circular end; the length of it then depends on the shoulder width from the edge
of the collar seam.

When pinning to the material, I didn't pin it properly as I
knew it would be hard to get it through the card; but if I did this with a pattern that isn't flexible it would create
buckles in the material once cut out. So instead I just stuck the pins in once at
an angle to cut in place (rather than weaving each pin through twice). In the
photo is the piece of card that would be left in the epaulettes, so I cut round
this with a 1.5cm seam allowance.
At this point it was one of those moments when I wish I had
a rotary cutter (and board) instead of just dressmaking scissors, but they
sufficed.
Once two are cut out per shoulder, I used a glue gun (but to
be honest super glue will do) to run glue around the edges and then folded the
fabric over making sure that it was pulled tight enough to make a flat surface
on the right side. I then stuck pins in to keep the folds in place whilst
drying. The reason why I kept the card in the epaulettes was to make them stiff
and to keep the shape better.

I stuck the top and
bottom layers together, again using super glue, with the end of the tasselled
trim at the edge where the circle meets the rectangle, in between. I then ran
glue around the join of the two layers of the circles, and the trim along the
side; making sure the top of the trim peeked over the top ever so slightly, and
tucked into the opposite side between the layers to finish off. I again placed
pins around just to hold the trim in place whilst drying.
 When the glue had dried
I slip stitched the two layers of fabric together so you couldn't see the gap
where the awful gap was; this also acted as a second, more secure sealant.
When the glue had dried
I slip stitched the two layers of fabric together so you couldn't see the gap
where the awful gap was; this also acted as a second, more secure sealant.
I stitched on a darker cord to the top of the epaulettes;
tracing the outer shape to add more of a
detail to them and to look a little more interesting.
When I was attaching the epaulettes to the shirt itself I
had to make sure that I had tied the kingfisher blue belt on underneath the
epaulette, otherwise this would mean having to sew at either end of the epaulet
and thread the belt through and re-tie the belt each time we needed to change
the costume. Instead I sewed directly through the epaulet and belt to the
shirt. Sewing them together by just catching the fabric on the bottom layer of
the epaulettes, hence why we needed to cover both layers. When putting the
shirt on this meant that we had to slip the tied belt over the head and put the
arm through. This saved a lot of time and hassle during changes.
The Accessories:
Any kind of royal occasion means blingin' it up; so expect
rich colours, bows and gold and silver accessories. For the Prince this
included:
Medals:
 I decided that Prince Charming needed some kind of medal(s)
so I thought of the most obvious ones he could have would be the Queen's
Diamond and Golden Jubilee medals, meaning that they had been in service during
the time of the Jubilee for several years.
I decided that Prince Charming needed some kind of medal(s)
so I thought of the most obvious ones he could have would be the Queen's
Diamond and Golden Jubilee medals, meaning that they had been in service during
the time of the Jubilee for several years.
To do this I found out the measurements of the medals (32mm diameter)
and used my compass to produce the correct size. I then also added a section
above to thread the ribbon through which would attach to the shirt. Once cut
out, I painted the Golden Jubilee medal gold and the Diamond Jubilee medal
silver. When dry, I drew on the profiles
of the Queen and the inscriptions around the edge.
 I would need to make
the ribands (ribbons) for the medals as well. I found you can either have the
medals Swing mounted, meaning they are able to swing freely; or Court mounted
which you wear slightly overlapping each other on a backing board. I decided to
go with the swing medals, so created the matching width and length to make up
the correct 'drop' of the medals in white cotton (95mm). Sewing up one side
(right sides together) and then turning them the right way out to paint the
appropriate coloured stripes on. Once dry I then folded them over, length ways,
and stitched across the top. Now, I would have threaded the ribbon through,
folded, sewn and then turned the medal out, but because I made the medals out
of card, I didn't want them to be bent/torn when turning them out. Instead I
snipped the middle of the upper bar and slotted it into the ribbon and then
taped it back together on the inside of the ribbon.
I would need to make
the ribands (ribbons) for the medals as well. I found you can either have the
medals Swing mounted, meaning they are able to swing freely; or Court mounted
which you wear slightly overlapping each other on a backing board. I decided to
go with the swing medals, so created the matching width and length to make up
the correct 'drop' of the medals in white cotton (95mm). Sewing up one side
(right sides together) and then turning them the right way out to paint the
appropriate coloured stripes on. Once dry I then folded them over, length ways,
and stitched across the top. Now, I would have threaded the ribbon through,
folded, sewn and then turned the medal out, but because I made the medals out
of card, I didn't want them to be bent/torn when turning them out. Instead I
snipped the middle of the upper bar and slotted it into the ribbon and then
taped it back together on the inside of the ribbon.
Order of the Garter Insignias:

I made the Order of the Garter Star emblem from card; once
drawn and painted I ran my fingernail down the back of each point, giving that
curved 3Dimensional appearance to it. To attach I then sewed a few stitches in
a cross in the centre, making sure the holes were far enough apart to make sure
the card would still have some strength around the stitches.

I also made the
smaller belt Order of the Garter swinging emblem which is worn hanging from the
loop of the bow tied at the side of the Kingfisher blue belt.
I drew it out on card; cut out with a craft knife and then painted
it gold. When dry I then went over the detail in pencil to look like engravings.
Oddly enough we already had the sash in the stock shed; the
perfect size to tie a big bow at the side. However to make sure I didn't have
to keep fiddling with tying and re-tying to get a good bow during the costume
changes; I sewed the bow in place when tied well. I then threaded a thin gold
ribbon through the hole of the emblem and the loop of the bow, tied a knot in
the ribbon and moved it around until the knot was hidden inside the bow loop.
Here is a close up look of the medals and emblems, when
attached to the shirt for the wedding.

The Spot the Difference:


 |
| Photo by Ashley Foster |
Page Costume: #3 ish
 |
| Design by Katie Pollitt |
*SPOILERS*
In the last scene, the Page saves
the Prince from marrying the evil Ice Queen, who was still under the impression
he was marrying Snow White.
He did this by melting the Ice
Queen with a hair dryer...makes sense...
"(Page walks back on stage
wrapped in a scarf and hat, carrying a hairdryer which he trains on the queen)"
So clearly all that had to be done
in this case was put a scarf and hat on him and hand him a hair dryer.
The Links:
Thank
you to Ashley Foster for the character portraits and 'behind-the-scenes' photo,
if you want to have a look at his other work or more photos from the junior production please visit his website at
http://ashleyfosterphotography.co.uk/
If
you are interested in the drama group itself that I do the costumes for please
check out their website at http://www.thegrangeplayers.co.uk or their facebook page https://www.facebook.com/thegrangeplayers
So that's it for the coverage of
the juniors production of 'Snow White and the Curse of the Ice Queen' by Peter
Nutall; I hope you've enjoyed this little insight. I'm hoping to do something
similar for the pantomime we did back in February (the first production I was
part of) with both the adult and junior members of the group, but we'll have to
see how good my memory is.
By the way, I'm sorry about the gap
in posting a couple of weeks ago, I was on holiday; but this was a very long
post, so hopefully that will help make up for it :)
Talk to you soon.
~K
No comments:
Post a Comment